
Here I come with another scone recipe! This one has been tumbling around in my mind for quite some time and it is so very special. These mixed berry buttermilk scones are packed with the best berries, plenty of butter, tangy buttermilk, lots of lemon zest, and glazed with a bright, punchy lemon glaze. And of course there's some vanilla bean in there because I am helpless to its charms. These would be perfect (ahem, like all of my scones) for Mother's Day.

It's no secret I love making and sharing scone recipes
Well I really wanted to develop a recipe with berries and buttermilk (because I love alliteration) but mainly because buttermilk is such a special ingredient that I am trying to use more and it reminds me of my amazing friend Sam and her beautiful blog, Buttermilk by Sam - she loves buttermilk more than anyone I know and that passion for ingredients is one of the many reasons I admire her. Check out her amazing recipes - including lots of scones!
The reason I use a combination of buttermilk and cream in this scone recipe is that buttermilk is naturally a low-fat product and scones really need fat to be tender and moist.

How to make perfect scones
I share these same tips in all of my scone posts, but they really are the secret to perfect scones.
- Start with cold ingredients - cold butter, cold egg, cold cream/buttermilk - some people freeze the dry ingredients and the bowls/utensils. I think that's overkill.
- Err on the side of too little liquid - it is better to have a slightly dry dough than a too-wet dough. You can incorporate the dryer bits as you are folding and stacking the dough.
- Mix gently - my weapon of choice is a fork - while slowly drizzling in wet ingredients. You aren't trying to develop any gluten in these tender babies.
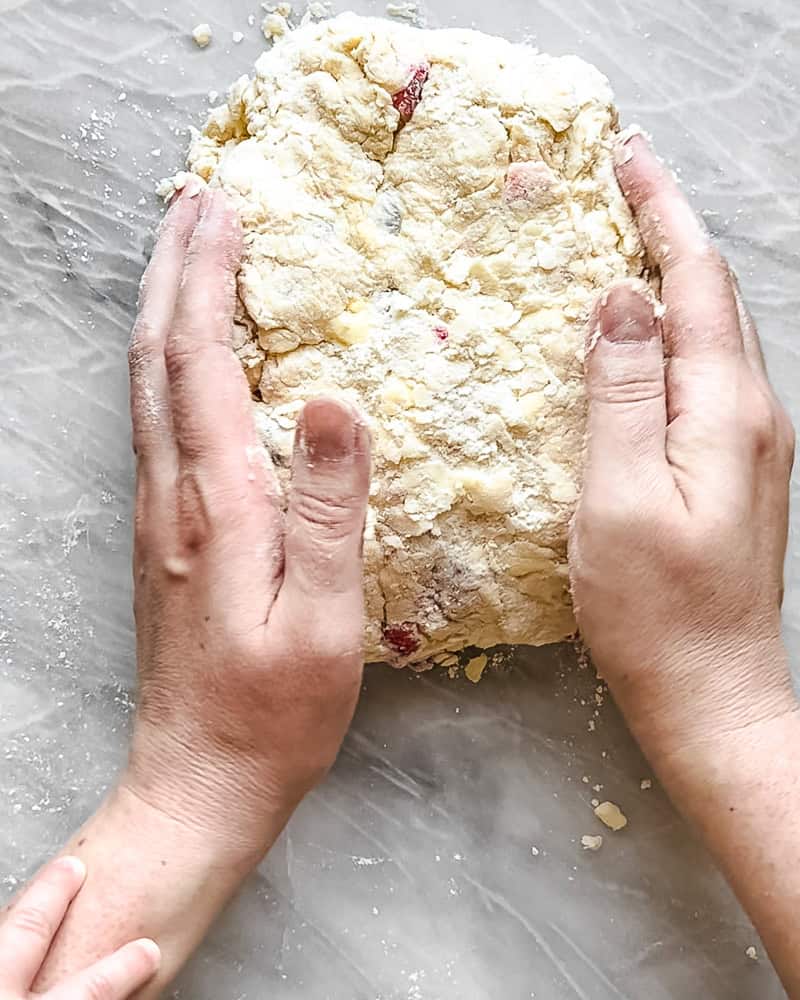
- Once mixed, divide and stack dough 2-3 times to get perfect, flaky layers.
- Freeze dough for 30 minutes or more before baking (see make ahead tips below).
(PS: look at that cute little baby hand sneaking into the first dough picture - I had Malcolm in his carrier while I made this batch of scones. So cute!)
How to store scones
Scones will keep at room temperature for 2 days in an airtight container or bag. Scones can also be stored in the refrigerator for a week. But for the freshest scones see my make-ahead tips below.
Make these mixed berry buttermilk scones ahead
Something I don't think everyone realizes is that scones are the ultimate make-ahead bake! They require a 30 minute freeze, but once frozen solid, you can then stash them in a freezer bag and bake them whenever your heart desires (just add a couple minutes onto the baking time).
You can also bake and then freeze, but I prefer to store the un-baked scones in the freezer and bake as needed for the freshest scones. So if you're thinking, 'I don't need 12 scones!' - well, you can freeze them and bake as few or as many as you want. Pretty great, huh?

Make sure to check out my other popular scone recipes
- Vanilla Bean Scones (yep, like the starbucks kind, but a million times fresher and tastier - this post also has some great step-by-step scone photos)
- Cara Cara Orange Scones (you could use any citrus)
- Triple Berry Creme Fraiche Scones
- The Easiest Scone Recipe (three ingredients)
I hope you'll give these mixed berry buttermilk scones a try, and like I wrote above, these would be just perfect for Mother's Day. But of course you don't need a special occasion to whip up a fresh batch of scones.
If you make these or any of my recipes, please leave a comment and rating letting me know how it turned out. This not only makes my day, but it also helps my recipes show up more prominently in search results.
Thank you for your kindness and support! xo - Anita
Print
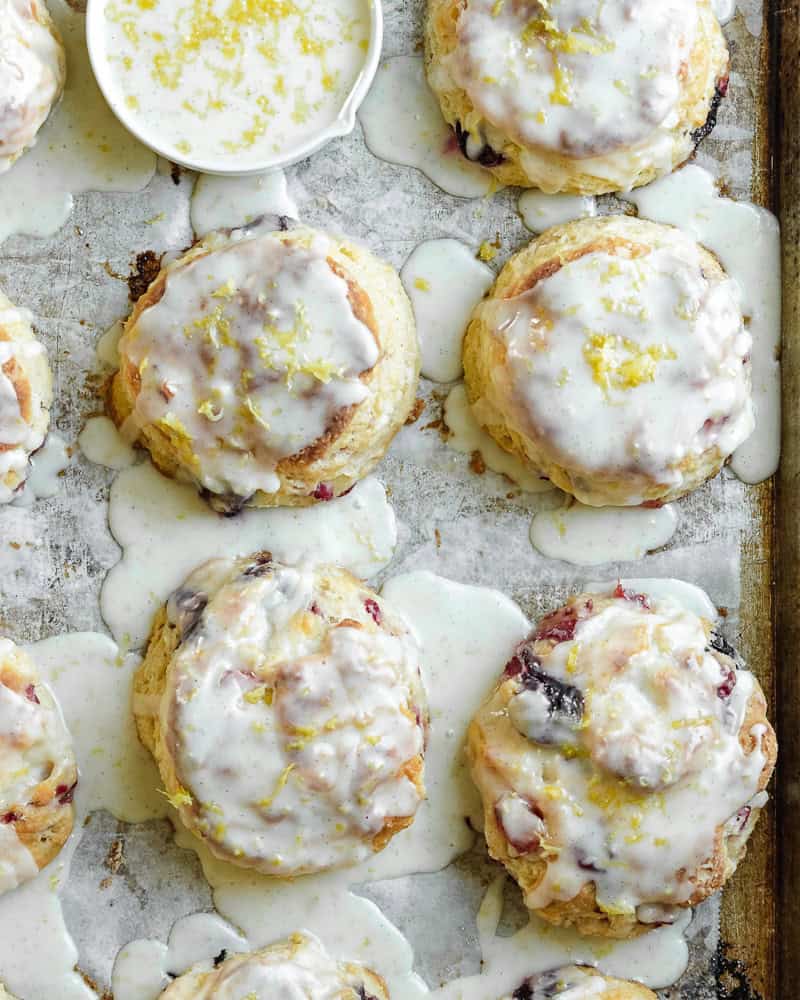
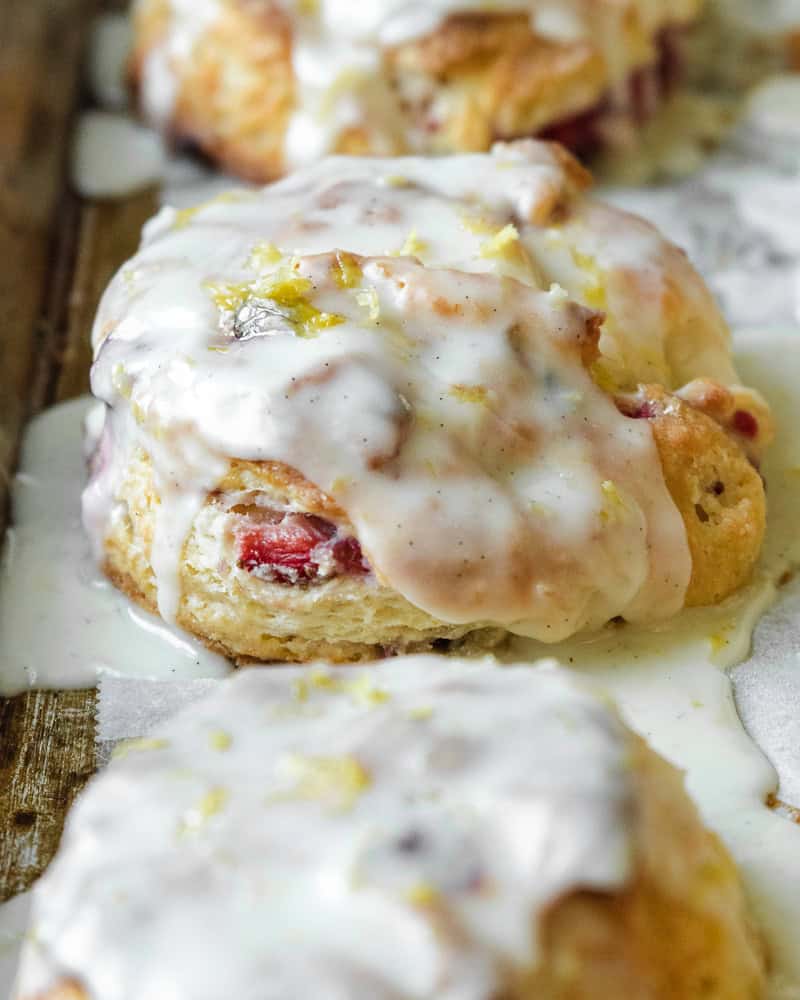
Mixed Berry Buttermilk Scones with Lemon Glaze
These mixed berry buttermilk scones are packed with the best berries, plenty of butter, tangy buttermilk, lots of lemon zest, and glazed with a bright, punchy lemon glaze.
- Total Time: 45 minutes plus chilling
- Yield: 12 scones
Ingredients
Scones:
dry mixture:
- 3 cups all-purpose flour, plus more for dusting
- ⅓ cup granulated sugar
- 2 tablespoons baking powder (I use aluminum-free baking powder)
- ¼ teaspoon salt
- 1.5 sticks butter (12 tablespoons or 6 ounces) diced into very small cubes and kept very cold
berries:
- ½ cup blueberries
- ½ cup raspberries
- ½ cup diced strawberries
wet mixture:
- ½ cup buttermilk
- ¼ cup heavy cream
- zest and juice from one lemon
- seeds from 1 vanilla bean
- 1 teaspoon vanilla extract
- 1 egg
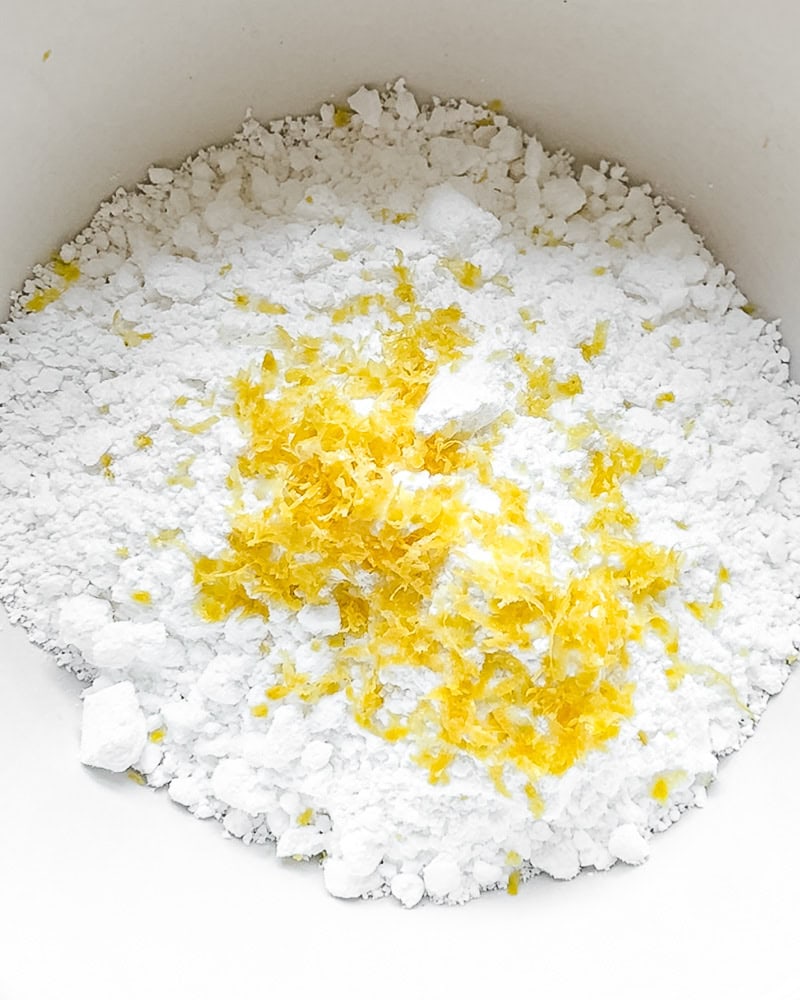
Glaze:
- 2 cups powdered sugar
- seeds from 1 vanilla bean
- 1 teaspoon vanilla extract
- zest and juice from 1 lemon
- 1-2 tablespoons buttermilk (start with one and add the 2nd if you need)
Instructions
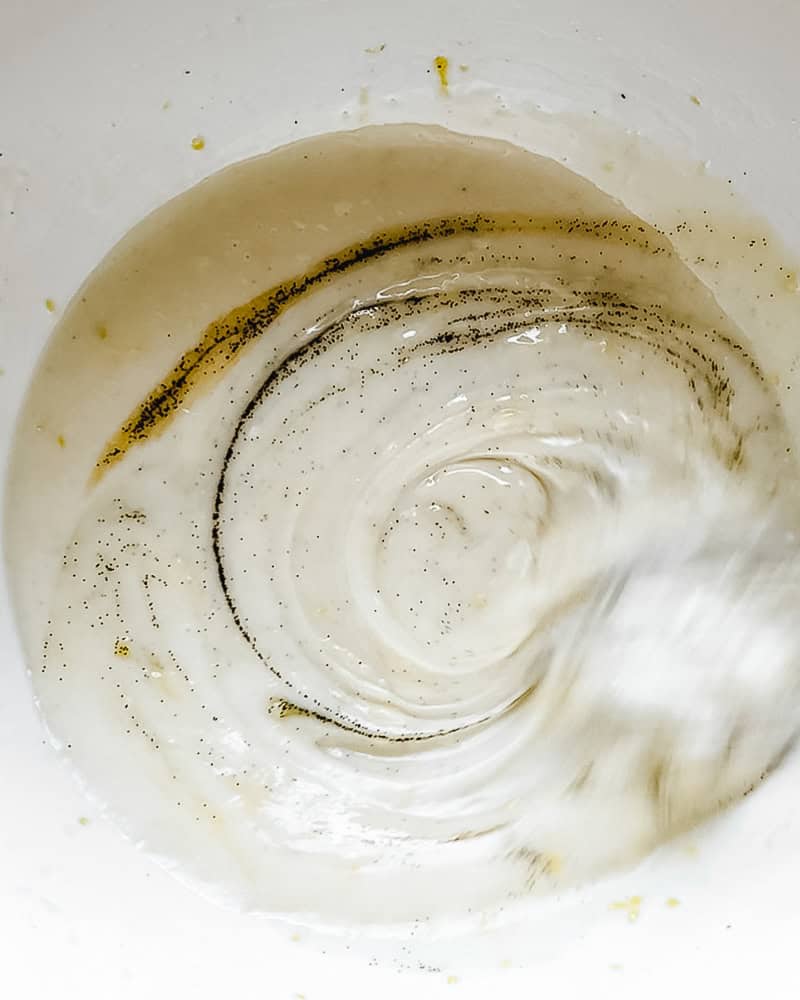
- Whisk the wet ingredients in a large, spouted measuring cup and set aside.
- In a large mixing bowl, stir together the dry ingredients. With a pastry cutter or your fingers, cut the cold butter into the flour mixture. Keep going until the mixture resembles very coarse crumbs - some will be pea sized and some will be smaller.
- Add berries to flour mixture and toss gently to evenly disperse
- Pour the wet mixture into the flour mixture slowly while gently stirring the dry ingredients with a fork just until it comes together. It's ok if there are a few dryer patches of dough, but if you have a lot of dry flour, add a bit more buttermilk about a tablespoon at a time as you keep stirring until you have a mostly moist, cohesive dough. Just be careful as the berries will naturally add moisture as you fold the dough and shape the scones.
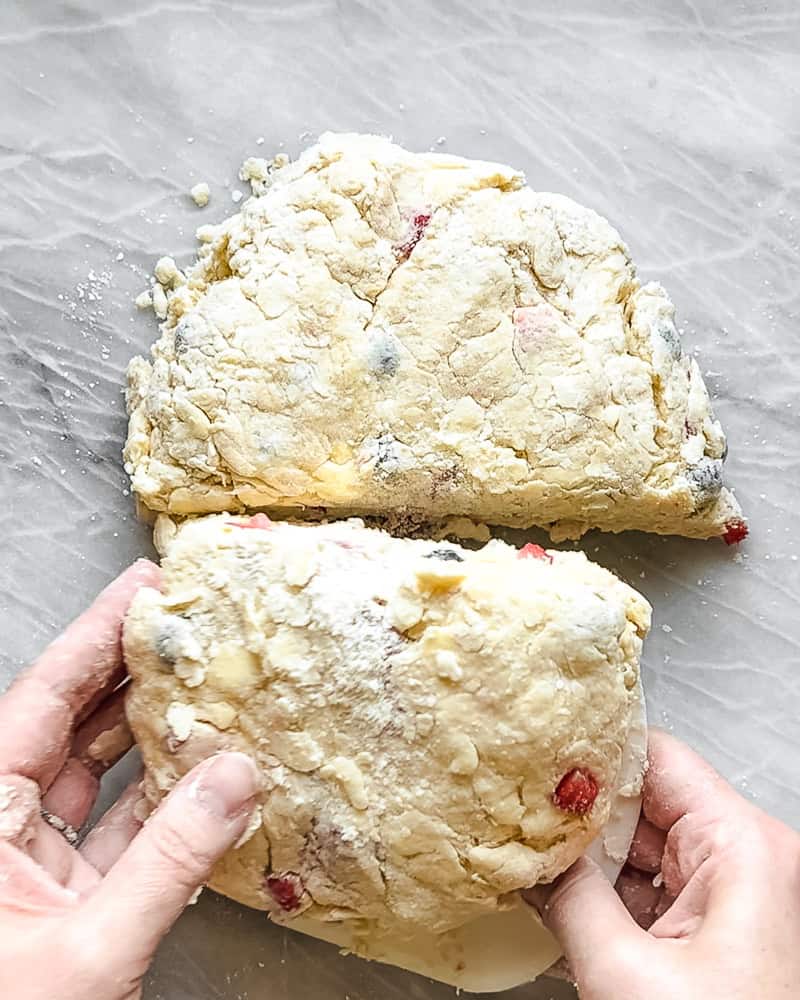
- Turn the dough onto a floured surface and lightly press it together until it forms a rough square. Cut dough in half and stack one half on top of the other. Press back into a rough square. Repeat this process two more times adding a light dusting of flour as needed to prevent stickiness. The stacking process creates perfect, flaky layers. I do this same trick when I make biscuits *A bench scraper is incredibly useful for the cutting and stacking, also for transferring the scones to the baking tray. If you make a lot of biscuits, bread, or scones, I urge you to get one.
- Use your hands or a rolling pin to roll into a rectangle about an inch and a half thick.
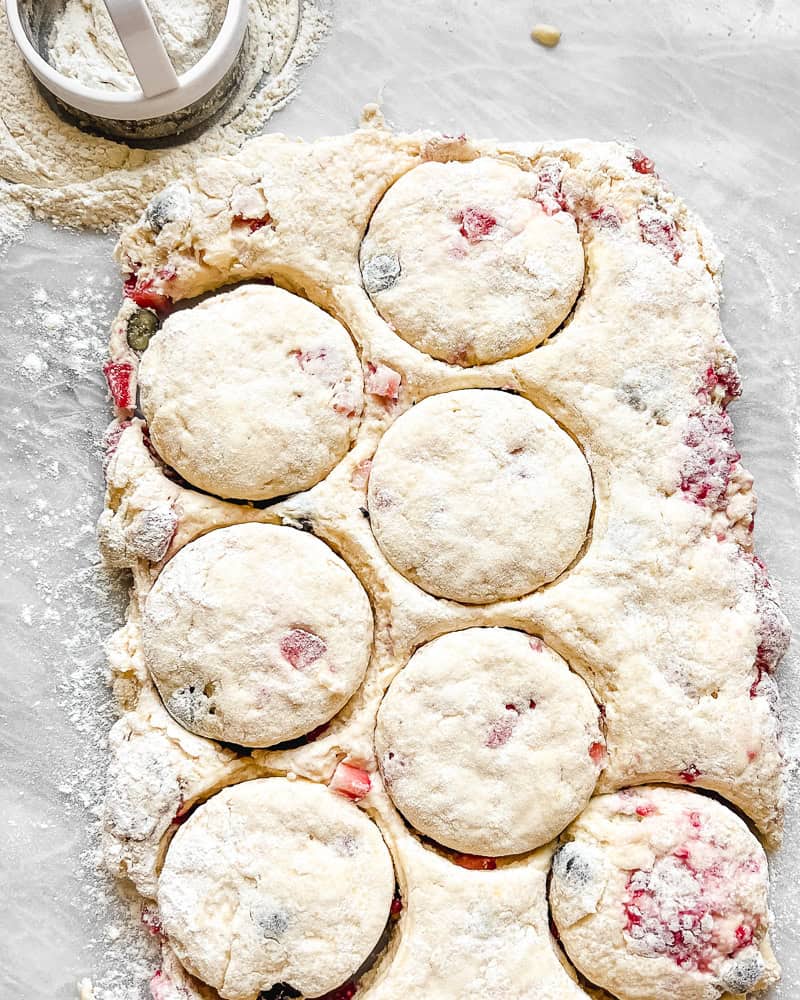
- Use a biscuit cutter to cut scones, stacking and patting the dough scraps back down as needed until all dough has been used - it will get a bit sticky as you re-shape but don't worry, just use flour to help. I was able to get exactly 12 using a 3 inch biscuit cutter but you can use any size you like. Use a tiny one to make cute little petite scones. Alternatively you can cut the rectangle into 12 even square-ish pieces or feel free to make more traditional triangular scones.
- Place cut scones onto a parchment lined baking sheet about 1.5-2 inches apart. I was able to get all 12 of mine onto a standard half sheet pan. They don't spread much, but they do rise.
- Place pan in freezer for at least 30 minutes before baking. This is a trick I've learned from several scone-making experts, and it really makes a difference. It just helps the flour hydrate and the butter chill back down which results in the fluffiest, flakiest scones.
- MAKE AHEAD TIP: You can leave that tray in the freezer all night and bake yourself some fresh scones the next day. Or you can freeze them, transfer to plastic bags or a freezer-safe container and have scones anytime your heart desires.
- When you're ready to bake, preheat oven to 400 degrees F.
- Bake scones for 25 minutes until tops are golden brown and dough is cooked through. If baking from overnight frozen, you'll want to add about 5 extra minutes. I like to cover mine loosely with foil for the last 10 minutes of baking so they don't get too brown on top.
- While scones are baking, make the glaze by combining all glaze ingredients in a bowl or spouted measuring cup. Whisk to combine. You should have a not too thick, not too thin, pourable consistency that won't all just slither off the scones. I describe it as the consistency of cool honey. If it is too thin add more powdered sugar, too thick add a tiny bit more lemon juice or buttermilk.
- Allow to cool completely before topping with glaze and extra lemon zest if desired.
Notes
MAKE AHEAD: In step 10 - You can leave the tray in the freezer all night and bake yourself some fresh scones the next day. Or, you can freeze them until solid, transfer to plastic bags or a freezer-safe container and have scones anytime your heart desires. Yep, pretty cool.
Kefir makes a great buttermilk substitute.
- Prep Time: 20 minutes plus freezing
- Cook Time: 20 minutes
- Category: scones, baking, Mother's Day
- Method: baking
- Cuisine: American
Susan Sullivan says
Your basic scone recipe is just like the one I learned to make on vacation in Ireland at Rathbaun Farm near Galway! So happy to find your recipe to verify my math conversion of grams to ounces!
anita | wild thistle kitchen says
That is high praise! Thank you so much for letting me know!!