
These Sourdough Hawaiian Rolls are soft, lightly sweetened with honey and pineapple juice (like the original recipe!), with a balancing tanginess from sourdough starter - either active or discard. You won't find rolls like this at any grocery store! I think they are just the perfect thing to pair with an Easter ham but of course they are good anytime of year.

When I was brainstorming Easter recipes earlier this year, my thoughts quickly turned to dinner rolls. I feel like Easter is all about the rolls (and so do my kids). So I did some research on the infamous Hawaiian rolls and decided to create a variation using my Soft Sourdough Discard Dinner Rolls as the starting point. Well, needless to say, they are amazing! Soft, buttery, and so fragrant and flavorful. I know they will be a hit on your Easter table or anytime of year. They would be perfect for my Pull-Apart Lobster Sliders, if I do say so myself!

Step-by-Step Instructions
Here is the process for making these delicious Sourdough Hawaiian Sweet Rolls. I decided to knead this one by hand, but feel free to use your stand mixer with a dough hook.

Combine warm water and yeast and let sit for a few minutes until bubbly.

Add remaining wet ingredients and stir.

Add dry ingredients.

Mix until a shaggy dough forms.
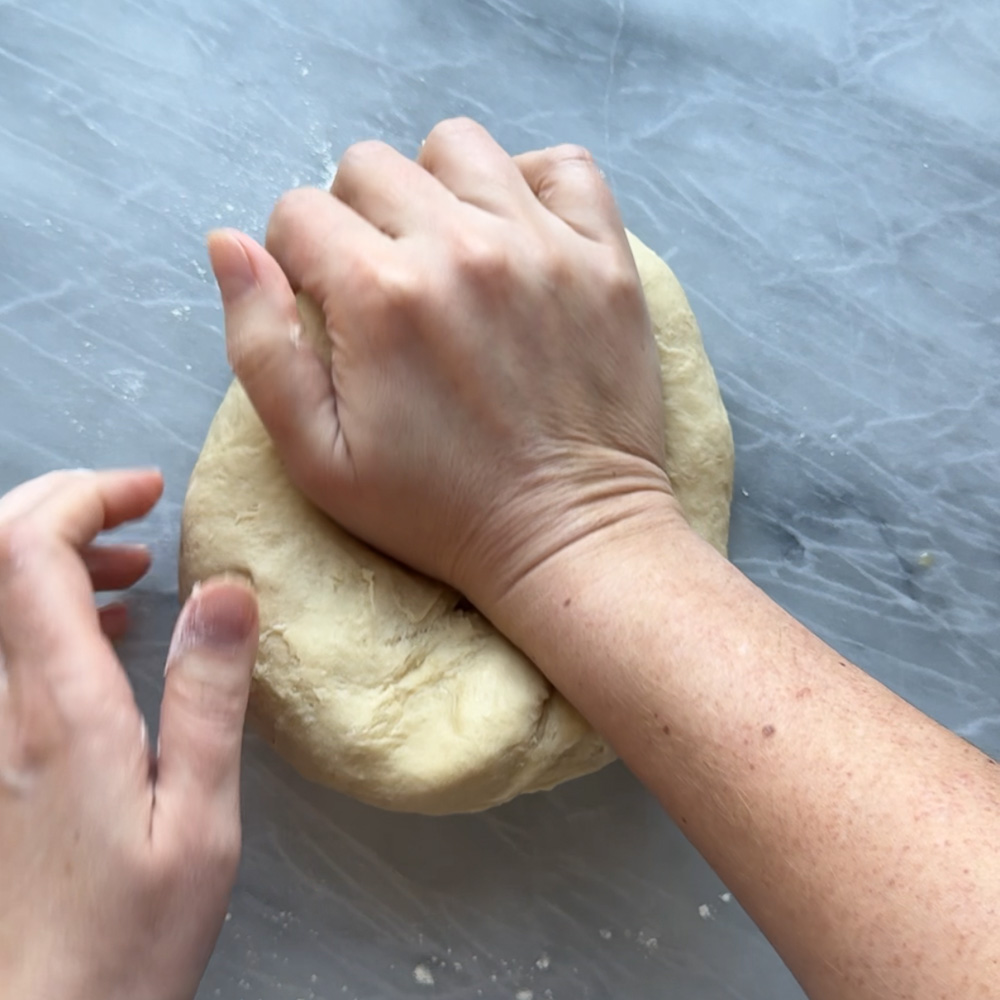
Knead for about 10 minutes by hand or use a stand mixer with a dough hook.

Place back in mixing bowl and cover.

Let rise for about 2 hours in a warm spot until doubled.

Dump onto floured surface and divide into 12-15 equal pieces.

Roll each piece into a tight ball and place in buttered 9x13 baking dish.

Cover and let rise again until doubled which will take up to 2 hours.
See recipe card for full details and instructions. See notes section for no-yeast option and other important info.
Top Tip
Because of the butter and egg, this is a rich dough and will take longer to rise than a lean dough. Instant yeast will rise faster than active dry yeast. To speed up the rising time you can place the dough in your oven with the light on or in another warm spot in your house. Don't rush the rising as the rolls will not be as pillowy soft if you don't let them rise fully before baking.

Sourdough Hawaiian Rolls
These Sourdough Hawaiian Rolls are soft, lightly sweetened with honey and pineapple juice (like the original recipe!), with a balancing tanginess from sourdough starter - either active or discard. You won't find rolls like this at any grocery store! I think they are just the perfect thing to pair with an Easter ham but of course they are good anytime of year.
- Total Time: 4 hours 40 minutes
- Yield: 12 Hawaiian dinner rolls
Ingredients
60 grams (about ¼ cup) water, warmed to 100-110 degrees F
7 grams (2 ¼ teaspoons) instant yeast or active dry yeast*
187 grams (¾ cup) pineapple juice
84 grams (4 tablespoons) honey
½ teaspoon vanilla extract (optional)
56.5 grams unsalted butter, melted (½ stick or 4 tablespoons)
1 egg
½ cup sourdough starter, active or discard, stirred down before measuring (about 113 grams)
420-480 grams (about 3 ½-4 cups) bread flour
1 teaspoon salt
Instructions
- Place warm water and yeast in a large mixing bowl and allow to sit for a few minutes until bubbly. If you are using instant yeast and you are certain its fresh, you can skip the waiting. Next, add pineapple juice, honey, vanilla, butter, egg, and sourdough starter to the yeast mixture and stir well to combine.
- Add 3 ½ cups flour and salt. Mix with a wooden spoon or dough whisk until all flour has been absorbed and a shaggy dough forms. Dump onto a floured surface and knead by hand for 5-7 minutes. *alternatively you can perform 3 sets of stretch and folds at 20 minute intervals or knead in a stand mixer with a dough hook for 5-7 minutes on speed 2 - If you don't like working with slightly sticky dough I recommend using the stand mixer option. If your dough is very sticky you can add the extra ½ cup as needed. This will strongly depend on your unique sourdough starter, how you measured your ingredients, etc... - some people will need more flour and some won't.
- Place back in bowl, cover, and allow to rise until doubled - this will take about 2 hours unless your kitchen is very warm.
- After dough has risen, dump onto lightly floured surface and divide into 12-15 equal pieces. Roll each piece into a tight ball and place into a buttered 9x13 inch baking dish - I like to also line with parchment to make them easier to remove in one piece later.
- Cover and let rise again until doubled and very puffy. Again, this will take about 2 hours depending on the temperature of your kitchen. Keep an eye on them. They are done rising when you press them lightly with a floured index finger and the indentation springs back slowly. If it springs back very quickly and the dough feels tight and tense, they are not ready. If the indentation does not spring back at all you may have over-proofed.
- Preheat oven to 350 degrees F during the last 30 minutes of rising time. Once rolls have risen, bake for 20-25 minutes in preheated oven. Brush with melted butter after baking.
- Serve warm if you can - they are so good!
Notes
- Bread flour is really important in this recipe. If you must use all purpose, you can, but you will likely need to use more of it and mix it a bit longer to develop the gluten.
- Your dough will rise about 20% faster if you use instant yeast as opposed to active dry yeast. I recommend instant for this recipe.
- If you want to make this recipe without any added yeast, you can. Just use peaked starter and increase your rising times significantly. I'd recommend doing the first rise overnight at room temp. And then give yourself several hours for the second rise once the rolls are shaped. A rich dough like this takes extra time to rise.
- The vanilla is traditional and very subtle, but if you want to leave it out if you're serving these in a very savory way, feel free to omit it.
- Rolls will keep at room temperature in a sealed bag or container for 3 days.
- Prep Time: 20 minutes active
- rising: about 4 hours total
- Cook Time: 20 minutes
- Category: baking, sourdough, breads
- Method: baking, sourdough
- Cuisine: American
Bianca says
Can you refrigerate rather than freeze these at the second rise and make them the next day? Thanks!
anita | wild thistle kitchen says
Hi Bianca! Yes, you can. Just make sure they are covered really well to prevent them from drying out in the fridge. And be sure to give them time at room temp the next day to get nice and puffy before baking. Let me know if you have any more questions! - Anita
Jamie says
Hello Diana,
Is it possible to freeze the rolls for later use? Either already baked or as dough balls, ready to bake?
anita | wild thistle kitchen says
Hi Jamie! Yes, these freeze well once baked as long as you let them cool completely, wrap very well with plastic and/or foil (you can't be too careful!), and then place in an airtight bag or container. For best results, use within a month or two and warm before serving to get rid of any freezer taste.
I prefer to freeze the dough balls though as you'll just end up with a fresher roll. Here's how: After you shape the rolls and before the second rise, freeze them in a single layer - not touching each other. Once frozen solid, you can transfer them to freezer bags. The night before you want to bake, arrange the frozen dough balls in your baking pan, cover, and let thaw in the refrigerator overnight. The next morning pull the pan out of the refrigerator and let the rolls rise until puffy before baking. Since they will be cold, make sure you give yourself plenty of time for that second rise.
Let me know if this helps and if you have any other questions! Thanks - Anita
Annick Michaud says
can these buns be made with a neutral oil instead of butter? my son can't have any dairy saddly.
anita | wild thistle kitchen says
Hi Annick! Yes, you can use any neutral fat or oil in place of the butter. Let me know if you have any other questions. Thanks! - Anita
Diana says
Happy Easter! I made these yesterday and WOW!!! They are wonderful! Easter Dinner will be perfect now, thanks for sharing this recipe.
anita | wild thistle kitchen says
Hi Diana! Happy Easter to you!! Thank you so much for trying these! I'm thrilled they were a hit!! Big hugs!! - Anita